7 Ways to Keep Your Home Safe While You Travel – Part I
While we spend much time looking for a safe hotel to stay in when planning for a trip, we also need to take time to keep our home safe when we leave. There are certain criteria that thieves look for in targeting a house. The goal is to avoid these, making your chances of not being in their “hit list” much better.
A. Time
Travelling time
Burglars pick the most convenient time to break in to a house – when no one is home. Months of July and August as well as during the holidays are the favorite time for thieves. That’s usually the time when we take off for a family reunion or enjoy our hard-earned money on a vacation. Thieves prowl the neighborhood to see which homes are unoccupied. To not convey your absence,
1. Keep mails/newspapers from sight. Have someone pick them up regularly.
Keep mails from sight
2. Keep some lights on. Just a light in an upper room window can signal the presence of someone.
Keep some lights on inside
3. During the holidays, keep presents out of sight. Don’t give thieves a reason to “shop” in your house. After the holidays, keep boxes of presents out of sight. You don’t want to let thieves know that you got the latest and greatest in electronics for Christmas.
Keep presents from view
B. Place
Hiding in the dark
Thieves pick a house where there’s a place that they can hide in the dark or from public view. To keep them from targeting your house,
1. Add lighting. Light up any dark spots in your yard.
Light up your yard
2. Trim bushes/trees. Keep bushes low enough so no one can hide behind it. Keep tree branches trimmed to keep it as far away from your house as much as possible so it can’t be used to access your upper rooms or roof.
C. Accessibility
Adding a fear factor
Keep gates locked and put a “Beware of dogs” sign to add a bit of fear factor. If, for whatever reason, they still would like to try your house, make it difficult for them to break in. Hopefully, they’ll get frustrated and leave.
1. Use deadbolts. Make sure the area of the lock and door jamb that it’s bolted in is reinforced (such as Door Armor MAX from Armor Concepts) and will not easily break when pried with a crow bar or kicked in. Of course, the door must be solid so it will not break into pieces when forced open.
Reinforce doors
2. Use sliding door and sliding window security bars for additional protection from forced entry. A piece of 2×2 lumber from your local hardware or an adjustable one from an online store will keep sliding doors/windows fixed on its track.
Next time, we’ll look into how you can make your home smart as an additional option to keeping your home safe and give you a peace of mind while away.
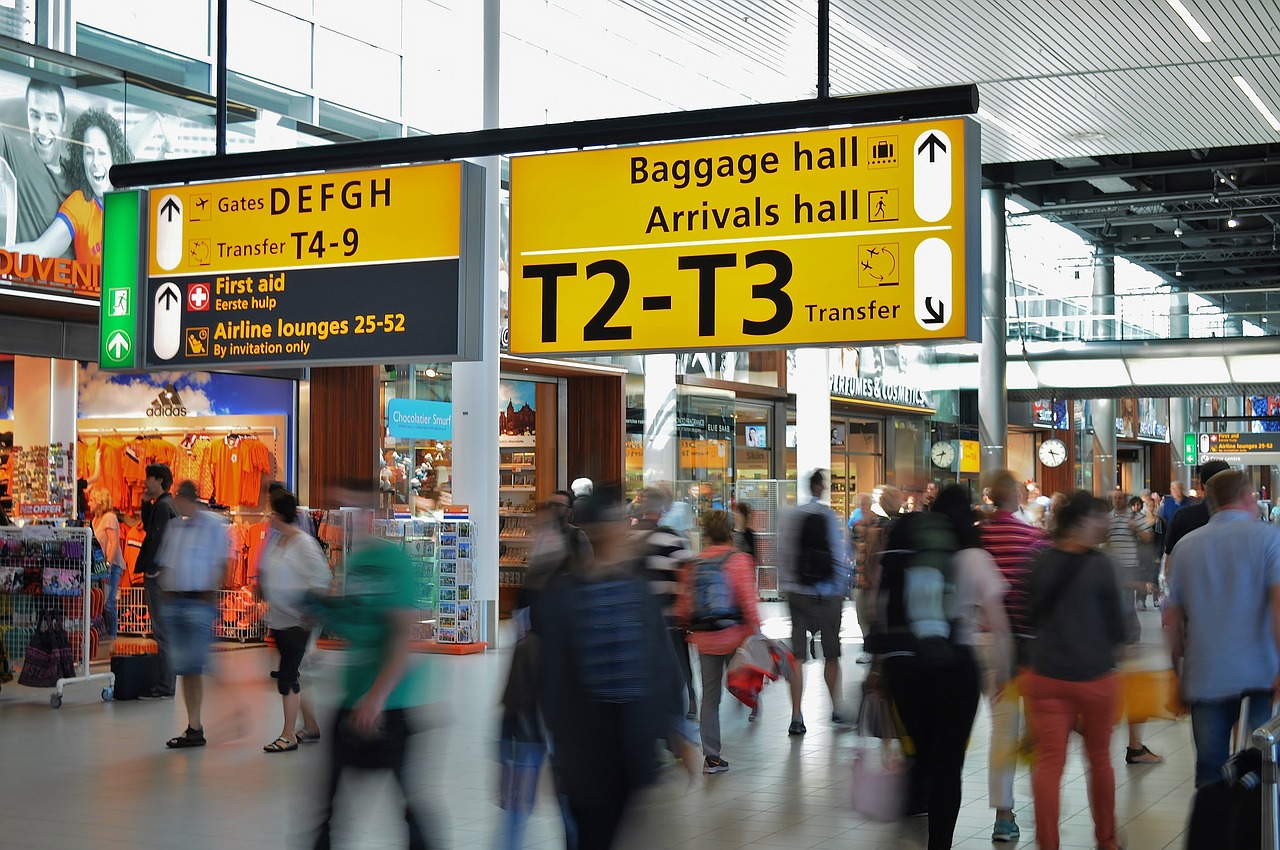
Have you ever checked in to a hotel or resort and find out that there is no Wi-Fi signal in your room? Or you have just arrived at the airport and can’t use Uber because your phone ran out of juice.
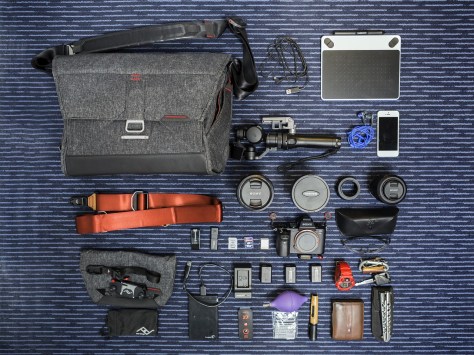
Gadgets make your vacation more enjoyable.
Backpackers, like soldiers, need gears to survive or adapt to an unfamiliar place that is missing some of the necessities found in the comfort of home. Those include devices they use as they go about in their daily activities. For shutter bugs and vloggers, they might need to bring a kit version of their studio to save on luggage space. For some who just can’t leave their work behind, they throw in their laptop or tablet as well.
Having traveled here and abroad in some occasions staying overnight or several days, here are the list of gadgets that fill my backpack other than the grooming kit.
Must have:
Unfortunately, there are no charging stations at the beach.
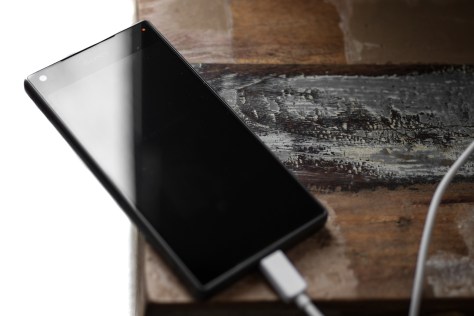
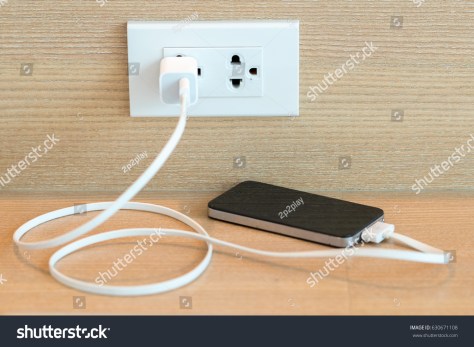
1) Quick-charge Power Bank – Do you often get that dreaded low battery status on your phone before the day ends? You even get it quicker when you’re taking pictures of everything that looks cool or when you’re engaging with 100+ social media friends and followers. Guess what? There are no charging stations at the beach or on the bus.
This compact power bank can save your day by quickly charging your phone not just once but several times over. I’m not talking about the freebie you got from some sales promo or from work. They will not cut it. Stick with a reliable and proven product such as this one.
Less clutter with a multi-USB charger.
2) Multi USB wall charger – Newer devices such as phones, power banks, cameras, etc. use USB chargers. Instead of bringing their own chargers, why not carry just one but with multiple USB ports. These can even charge at a faster speed than what came with the devices and with less clutter.
Avoid crowding the charging station with a long USB cable.
3) Long USB fast-charging cable (10ft.) – Most lengths of USB cables that manufacturers include with their devices are sufficient if the power outlet is close to your bedside or don’t mind hugging the nightstand. Some hotel rooms, especially in some countries, have just one and if it happens to be across the room, a long USB cable would come in handy. Also, charging stations at the airport usually gets crowded. Having a long USB cable will allow you to run it to the nearest sitting lounge where you can have more elbow room and privacy.
I prefer using a darker color so the grime from the floor will not be visible. You would want a durable cable that will withstand all the pulling and bending. Not all cables are created equal. Some create bottlenecks. But this cable is fast-charging and will complement the charger described above. There is also an iPhone version available if you need one.
Yes, they come in different shapes. Do you have the right gadget?
4) Universal power adapter – Different countries have different sizes, shapes and ratings of power outlets. Some have 2 holes, 3 holes, flat holes, round holes, slanted holes, you name it but this universal adapter will let you plug in your USB wall charger just fine. Fortunately, most chargers are rated to run on 100V-240V just like this one making it adaptable to any power source. Just plug it in to this universal adapter and you’re good to go.
Not enough power outlet for everyone?
5) Portable Power strip – If you have been in a hotel room on a vacation with your family, you know how hard it is to find an available power outlet for everyone’s gadgets. You can covertly replace theirs with yours and risk ruining the vacation or you can plug in your power strip and you’ll even have a spare spot to share with others. A travel-size one will fit nicely in a backpack and will not slow you down.
Bring hours and hours of movie time with a memory stick.
6) Back-to-back USB memory stick – Do you remember getting the “memory full” notification in your phone? This memory stick or flash drive can fix that problem by allowing you to transfer old pictures or videos from your phone or tablet and thereby freeing up much needed space. If you want, you can load it up with your favorite movies that you can watch while waiting for a bus ride. It does not need any adapter so it connects directly to an android phone, tablet or an iPhone.
Not every place has a free Wi-Fi.
7) Pocket WI-FI – How would you feel if you’re on a trip and your phone’s data signal is barely making a blip and loading a page is taking forever? And not every place has a free Wi-Fi. That’s when I grab my pocket Wi-Fi and fire it up. This one gets its signal from another provider and most of the time it’s stronger. The pay-as-you-go is perfect for traveling, money-wise, since you only use it when needed and there are no roaming charges. When you travel to another country, you’ll have a backup Wi-Fi to use as soon as your plane has landed. Then, at a later time, load it with a local SIM card of your choice, if you want, to save on money even more and get a stronger signal.
You can enjoy your vacation with the same convenience you have at home, well almost, with these gadgets. You can give some of these to your friends and family as a present and they’ll be grateful you did.
Coming up soon: 7 Things You Should Do to Keep Your Home Safe When You Travel
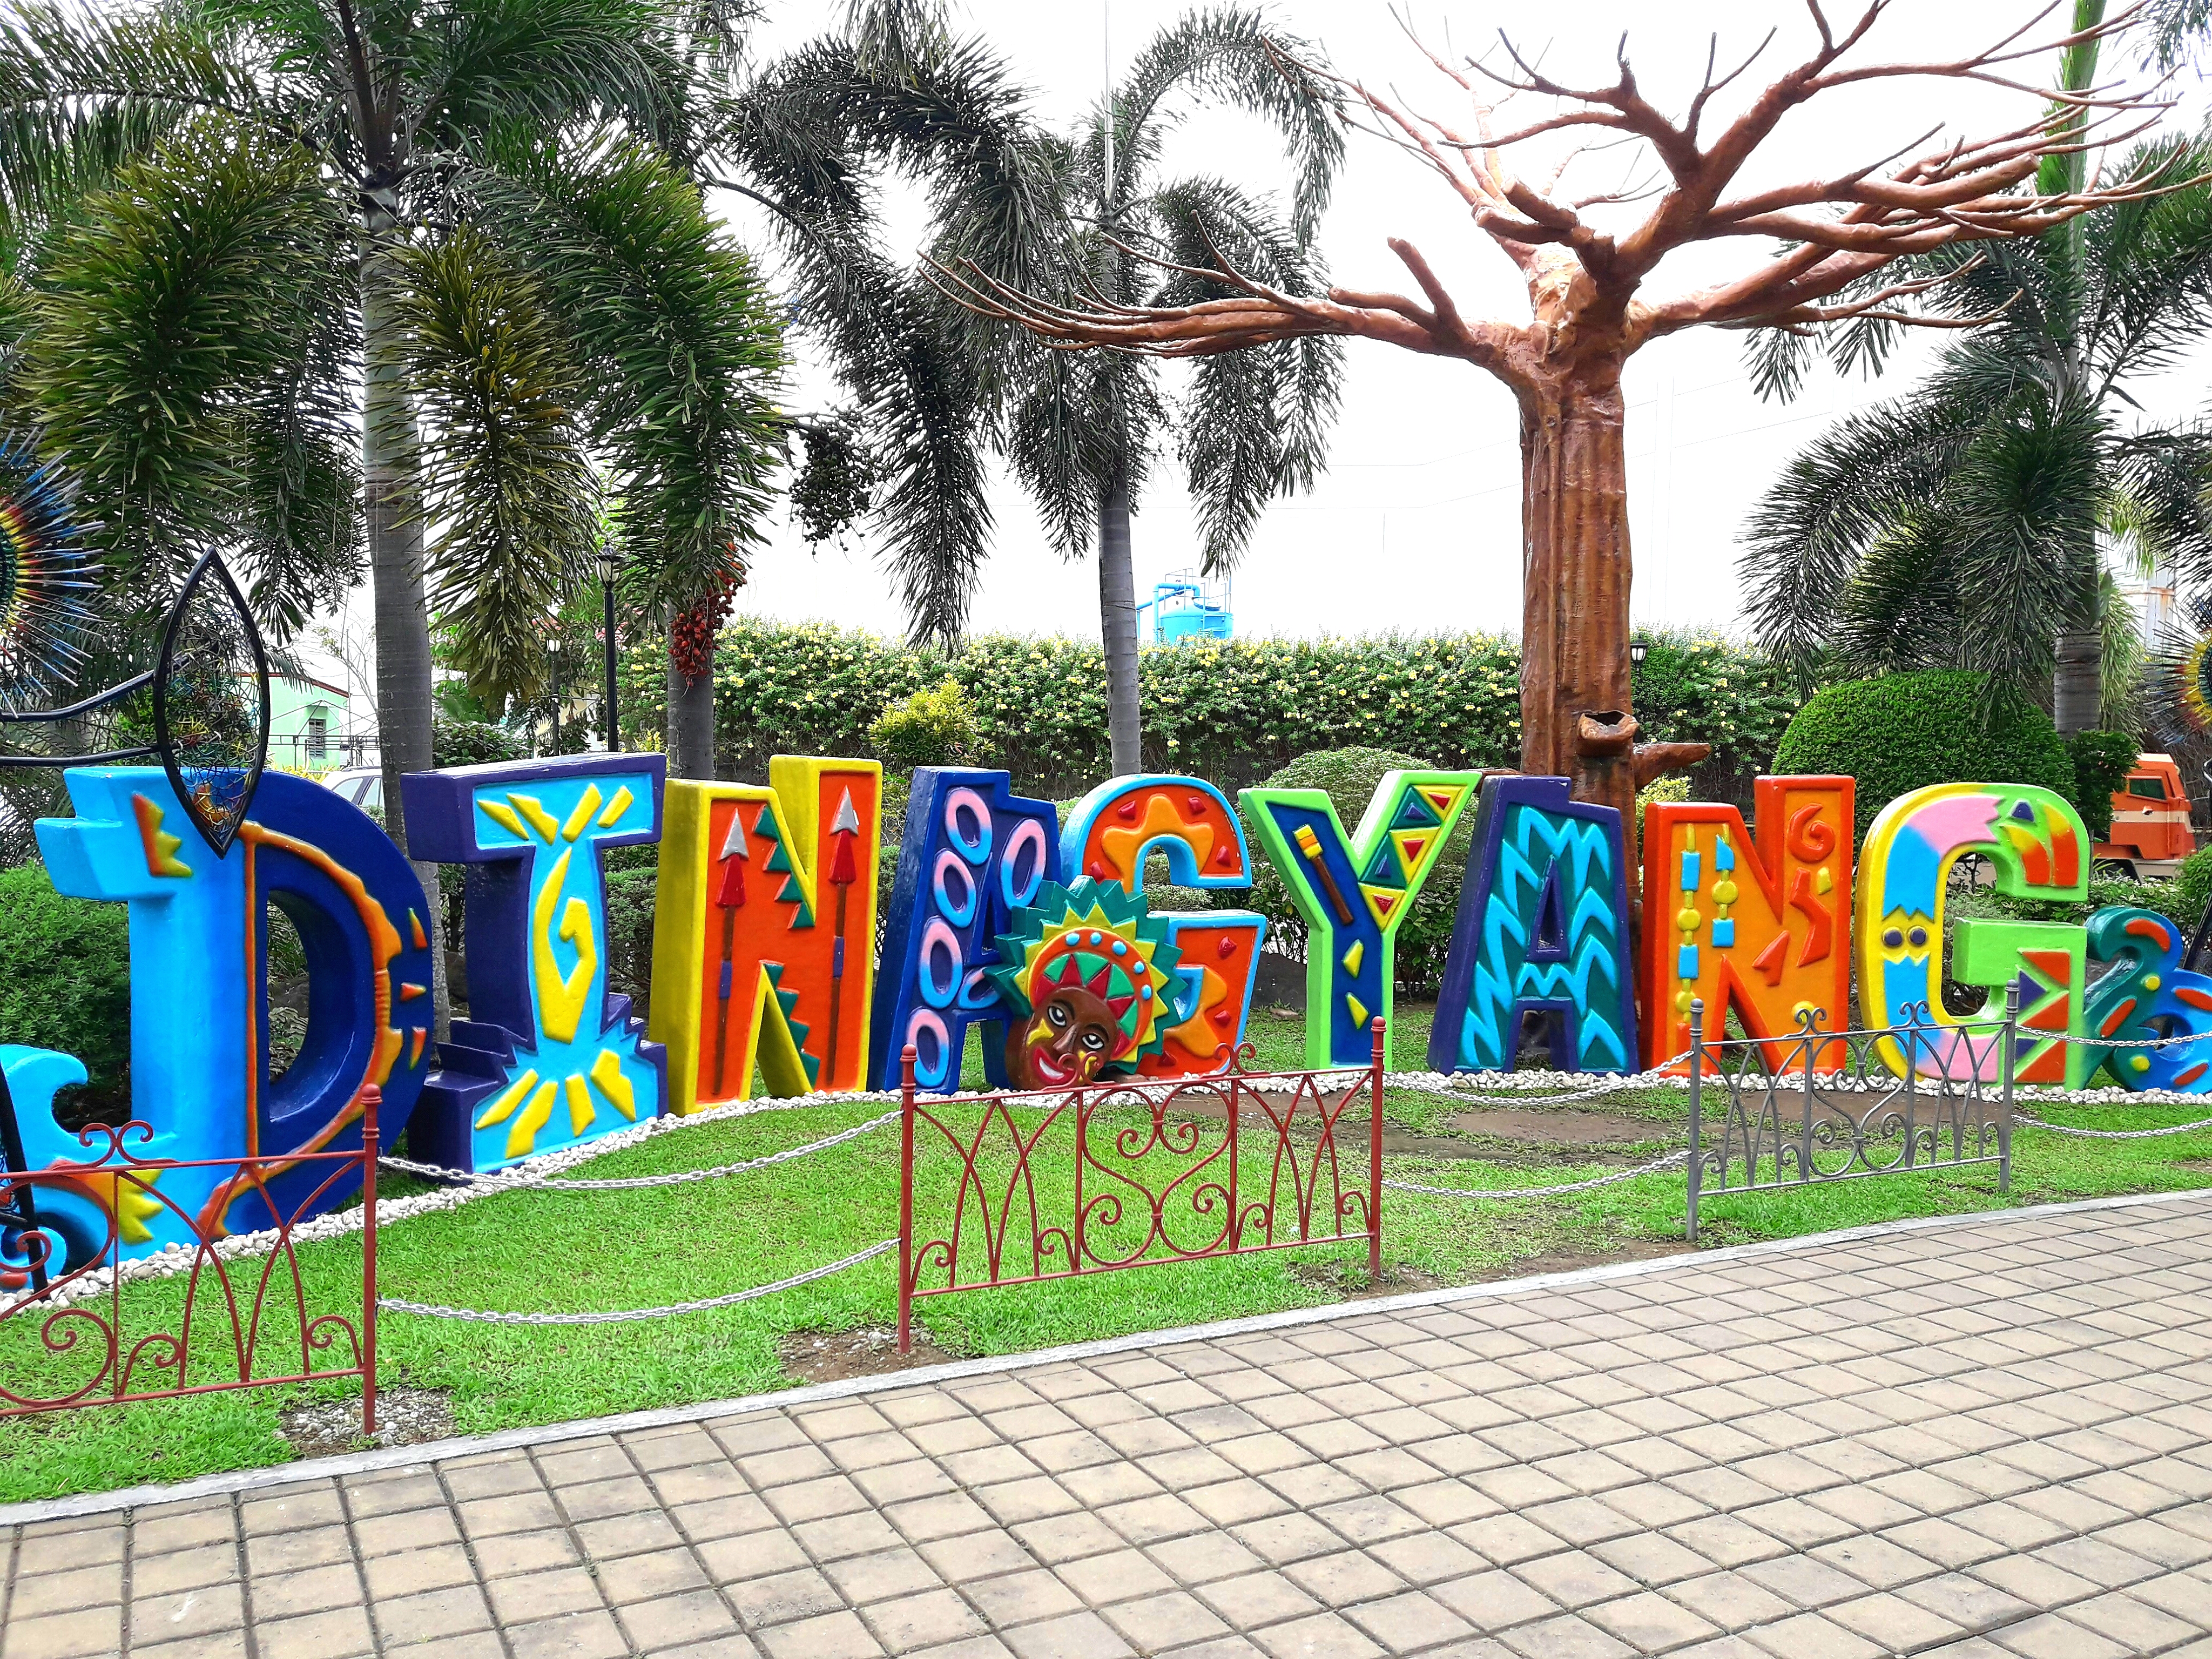
The City of Love, as they call Iloilo City, is about an hour and fifteen minutes flight from Manila. The best time to take a trip to Iloilo is the week before the fourth Sunday of January which is the city’s Dinagyang Festival.
Travel Tips Iloilo Dinagyang event at Plazuela
It is an event that is similar to the well-known Ati-atihan Festival in Aklan, a neighboring province. Book your accommodation close to SM City in Mandurriao, Iloilo for convenience specially if you’ll be using public transportation – they have a Grab taxi booth there that can assist in your travel needs. If you’re flying to Iloilo, it is best to reserve your ticket early so you can avail of cheaper price. To get there from Urdaneta City, you can take a bus that is headed to Pasay City (via TPLEX will cut travel time to 3.5 hours) from the bus stop infront of CB Mall along the McArthur hi-way. From the bus’ Pasay terminal, grab a taxi (or any of the available app-driven transport) to the domestic airport.
Arriving in Iloilo days before the festival will give you the opportunity to visit some of its fascinating places.
Megaworld
Travel Tips Iloilo Megaworld
Those who enjoy urban life can find themselves at home in Mandurriao’s Megaworld area
Travel Tips Iloilo iQor
and vicinity. It is the newest section of Iloilo City where it is being developed with the live-work-play concept. You will find new hotels, businesses and dining areas.
Travel Tips Iloilo Marriott Courtyard and the adjacent Convention CenterTravel Tips Iloilo Casa de Emperador
It is a few minutes away from shopping centers like the SM City, Plazuela
Travel Tips Iloilo Plazuela
and Atria and the Festive Walk Parade or the Esplanade
Travel Tips Iloilo Esplanade
where you can get a relaxing stroll. You can also enjoy a pedal boat ride along the river
Travel Tips Iloilo Esplanade River Ride
or rent a bike and tour Esplanade 1 & 2 and the Festive Walk Parade. When exhaustion hits you, there are coffee and snack shops along the route to recharge one’s energy like the Riverside Boardwalk.
Travel Tips Iloilo Riverside Boardwalk
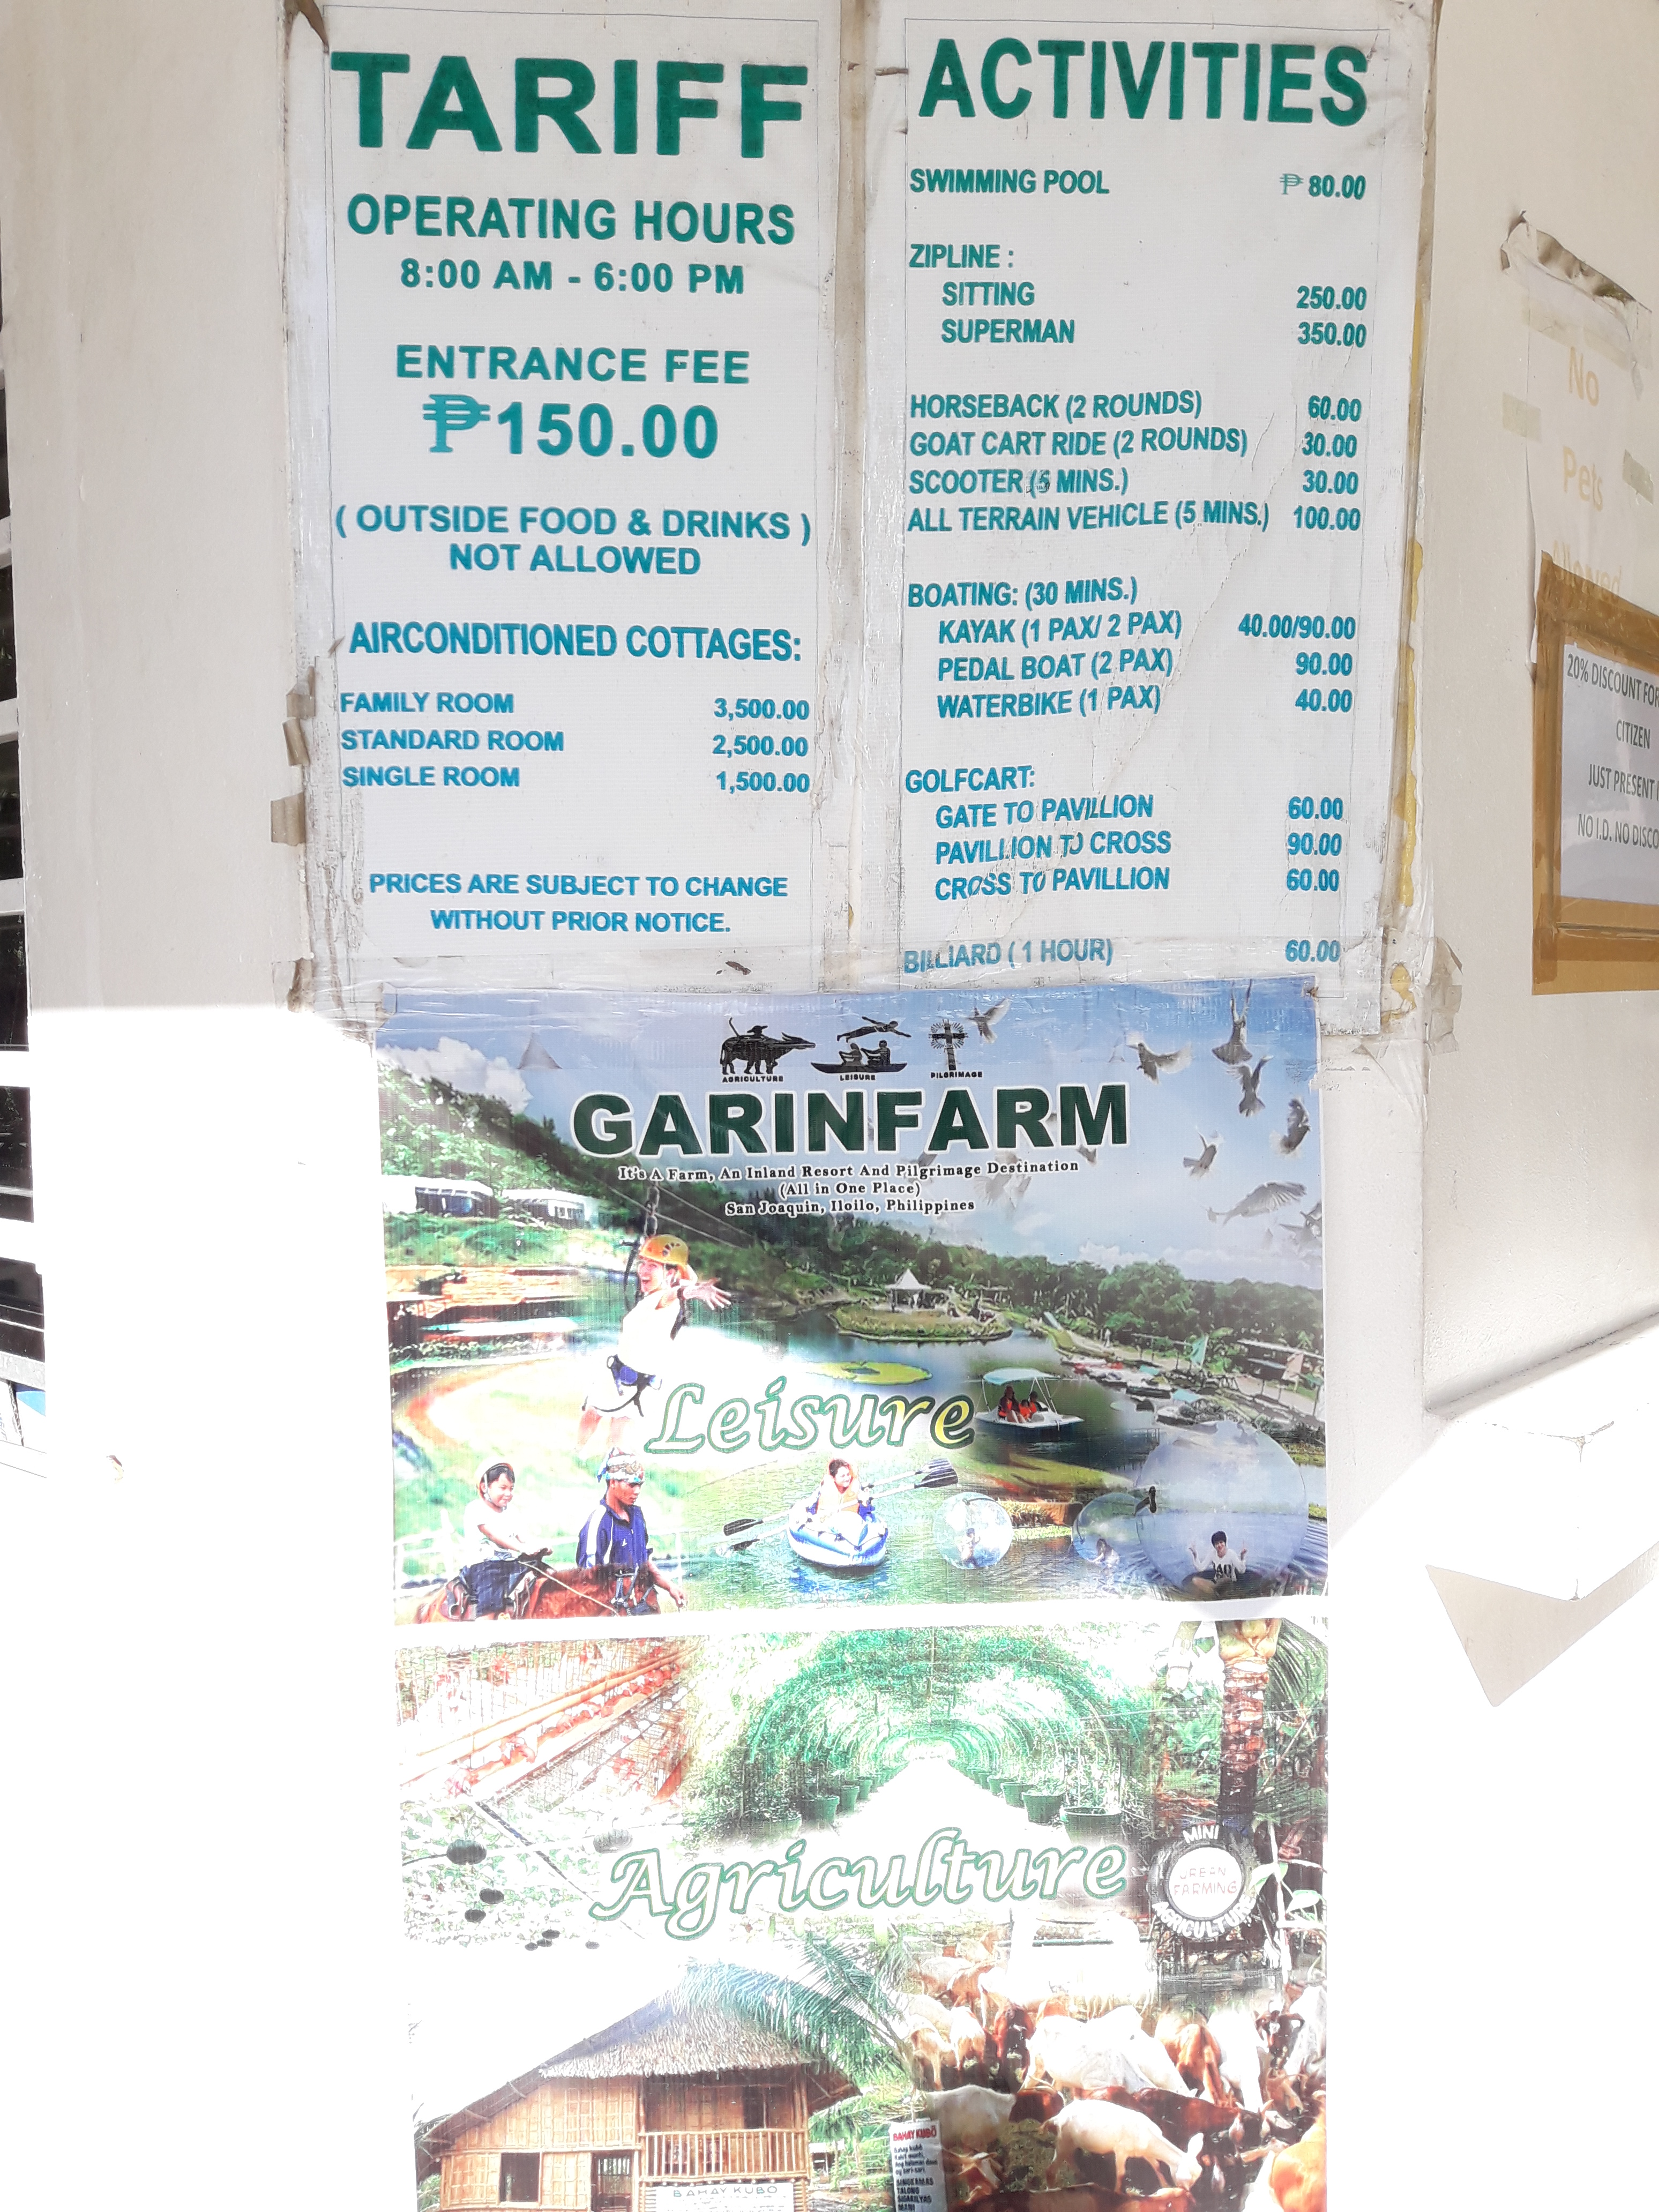
Garinfarm
Travel Tips Iloilo San Joaquin Garinfarm
If you have a religious background or love outdoor activities, you might like visiting the Garinfarm in San Joaquin. Travel time is about 45 minutes to an hour ride from Iloilo city. Take a taxi from SM City to the Mohon jeepney terminal where you can get a ride to San Joaquin church. A tricycle can take you from there to Garinfarm. Aside from the heavenly scene atop a hill,
Travel Tips Iloilo Garinfarm heavenly scene on top of a hill.
they also have several activities that young and old can enjoy such as a zip line across a lake, horse back riding, water rides, etc.
Travel Tips Iloilo Garinfarm fees
You’ll also get the chance to feed the doves, fish and the sheeps during their feeding time at around twelve noon.
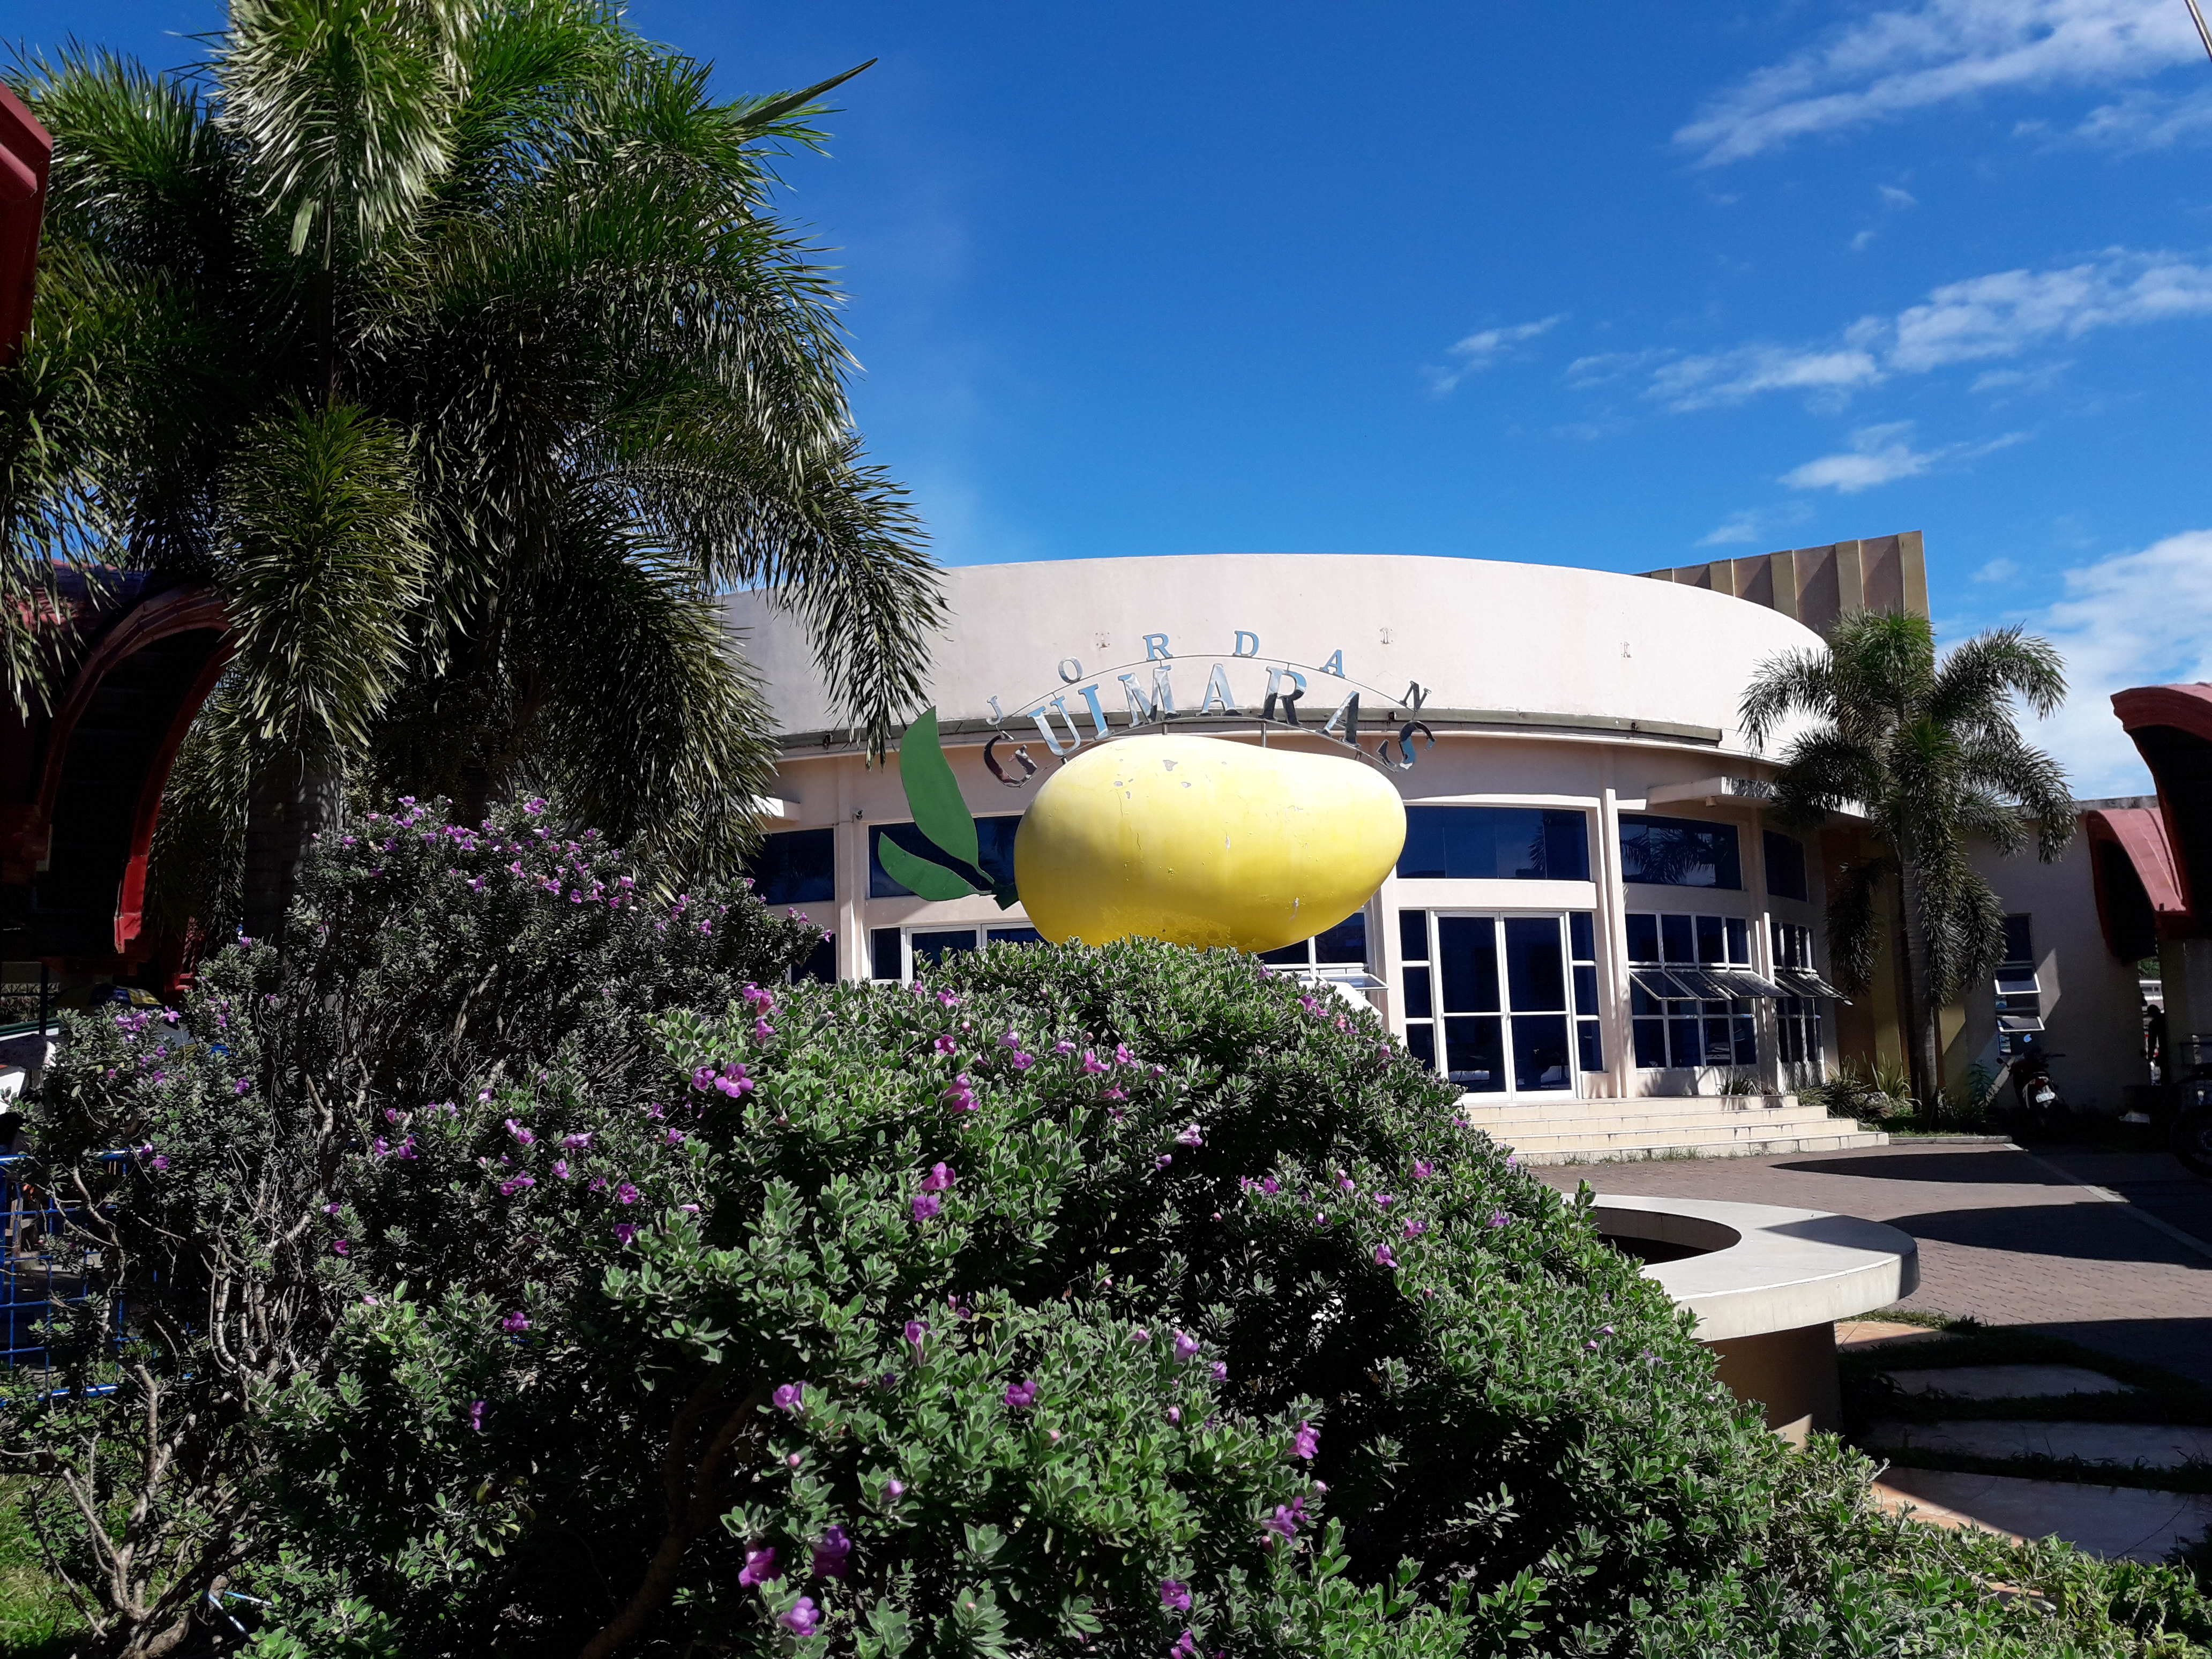
Guimaras island
Travel Tips Iloilo Guimaras Island view from Iloilo City
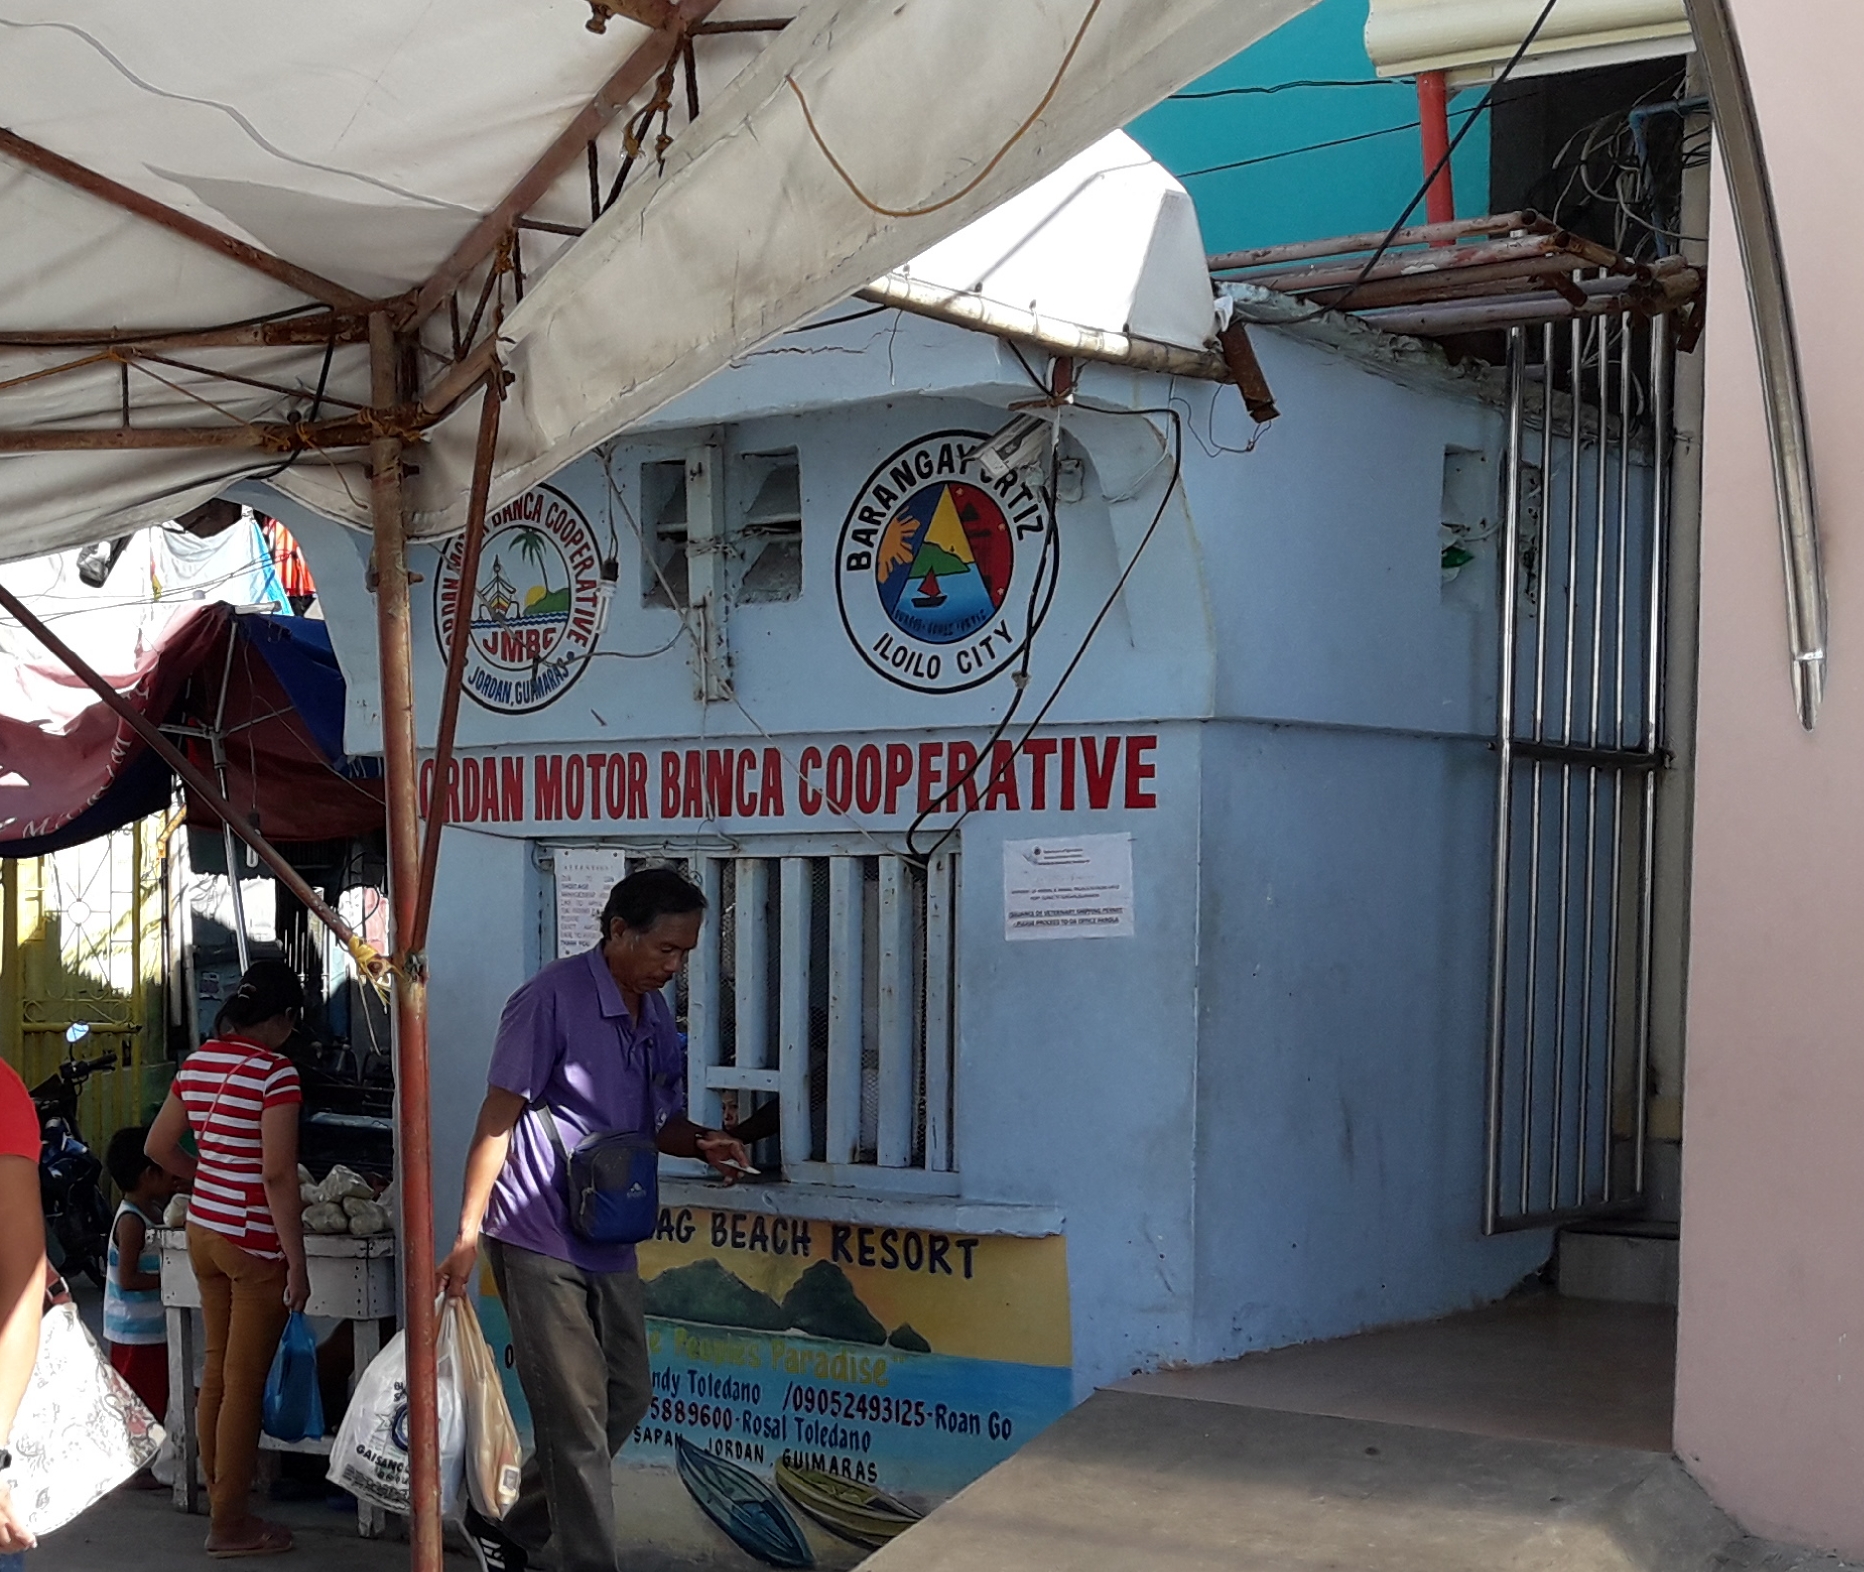
Then if you want an island adventure, take a 15-minute travel on a pump boat ride to the Guimaras island. From SM City, grab a taxi to the Ortiz wharf downtown and pay a ticket
Travel Tips Iloilo Guimaras Jordan boat ride ticket booth
for the boat ride to Jordan, Guimaras. Once there, register at the Tourism Office
Travel Tips Iloilo Guimaras Jordan Tourism Office
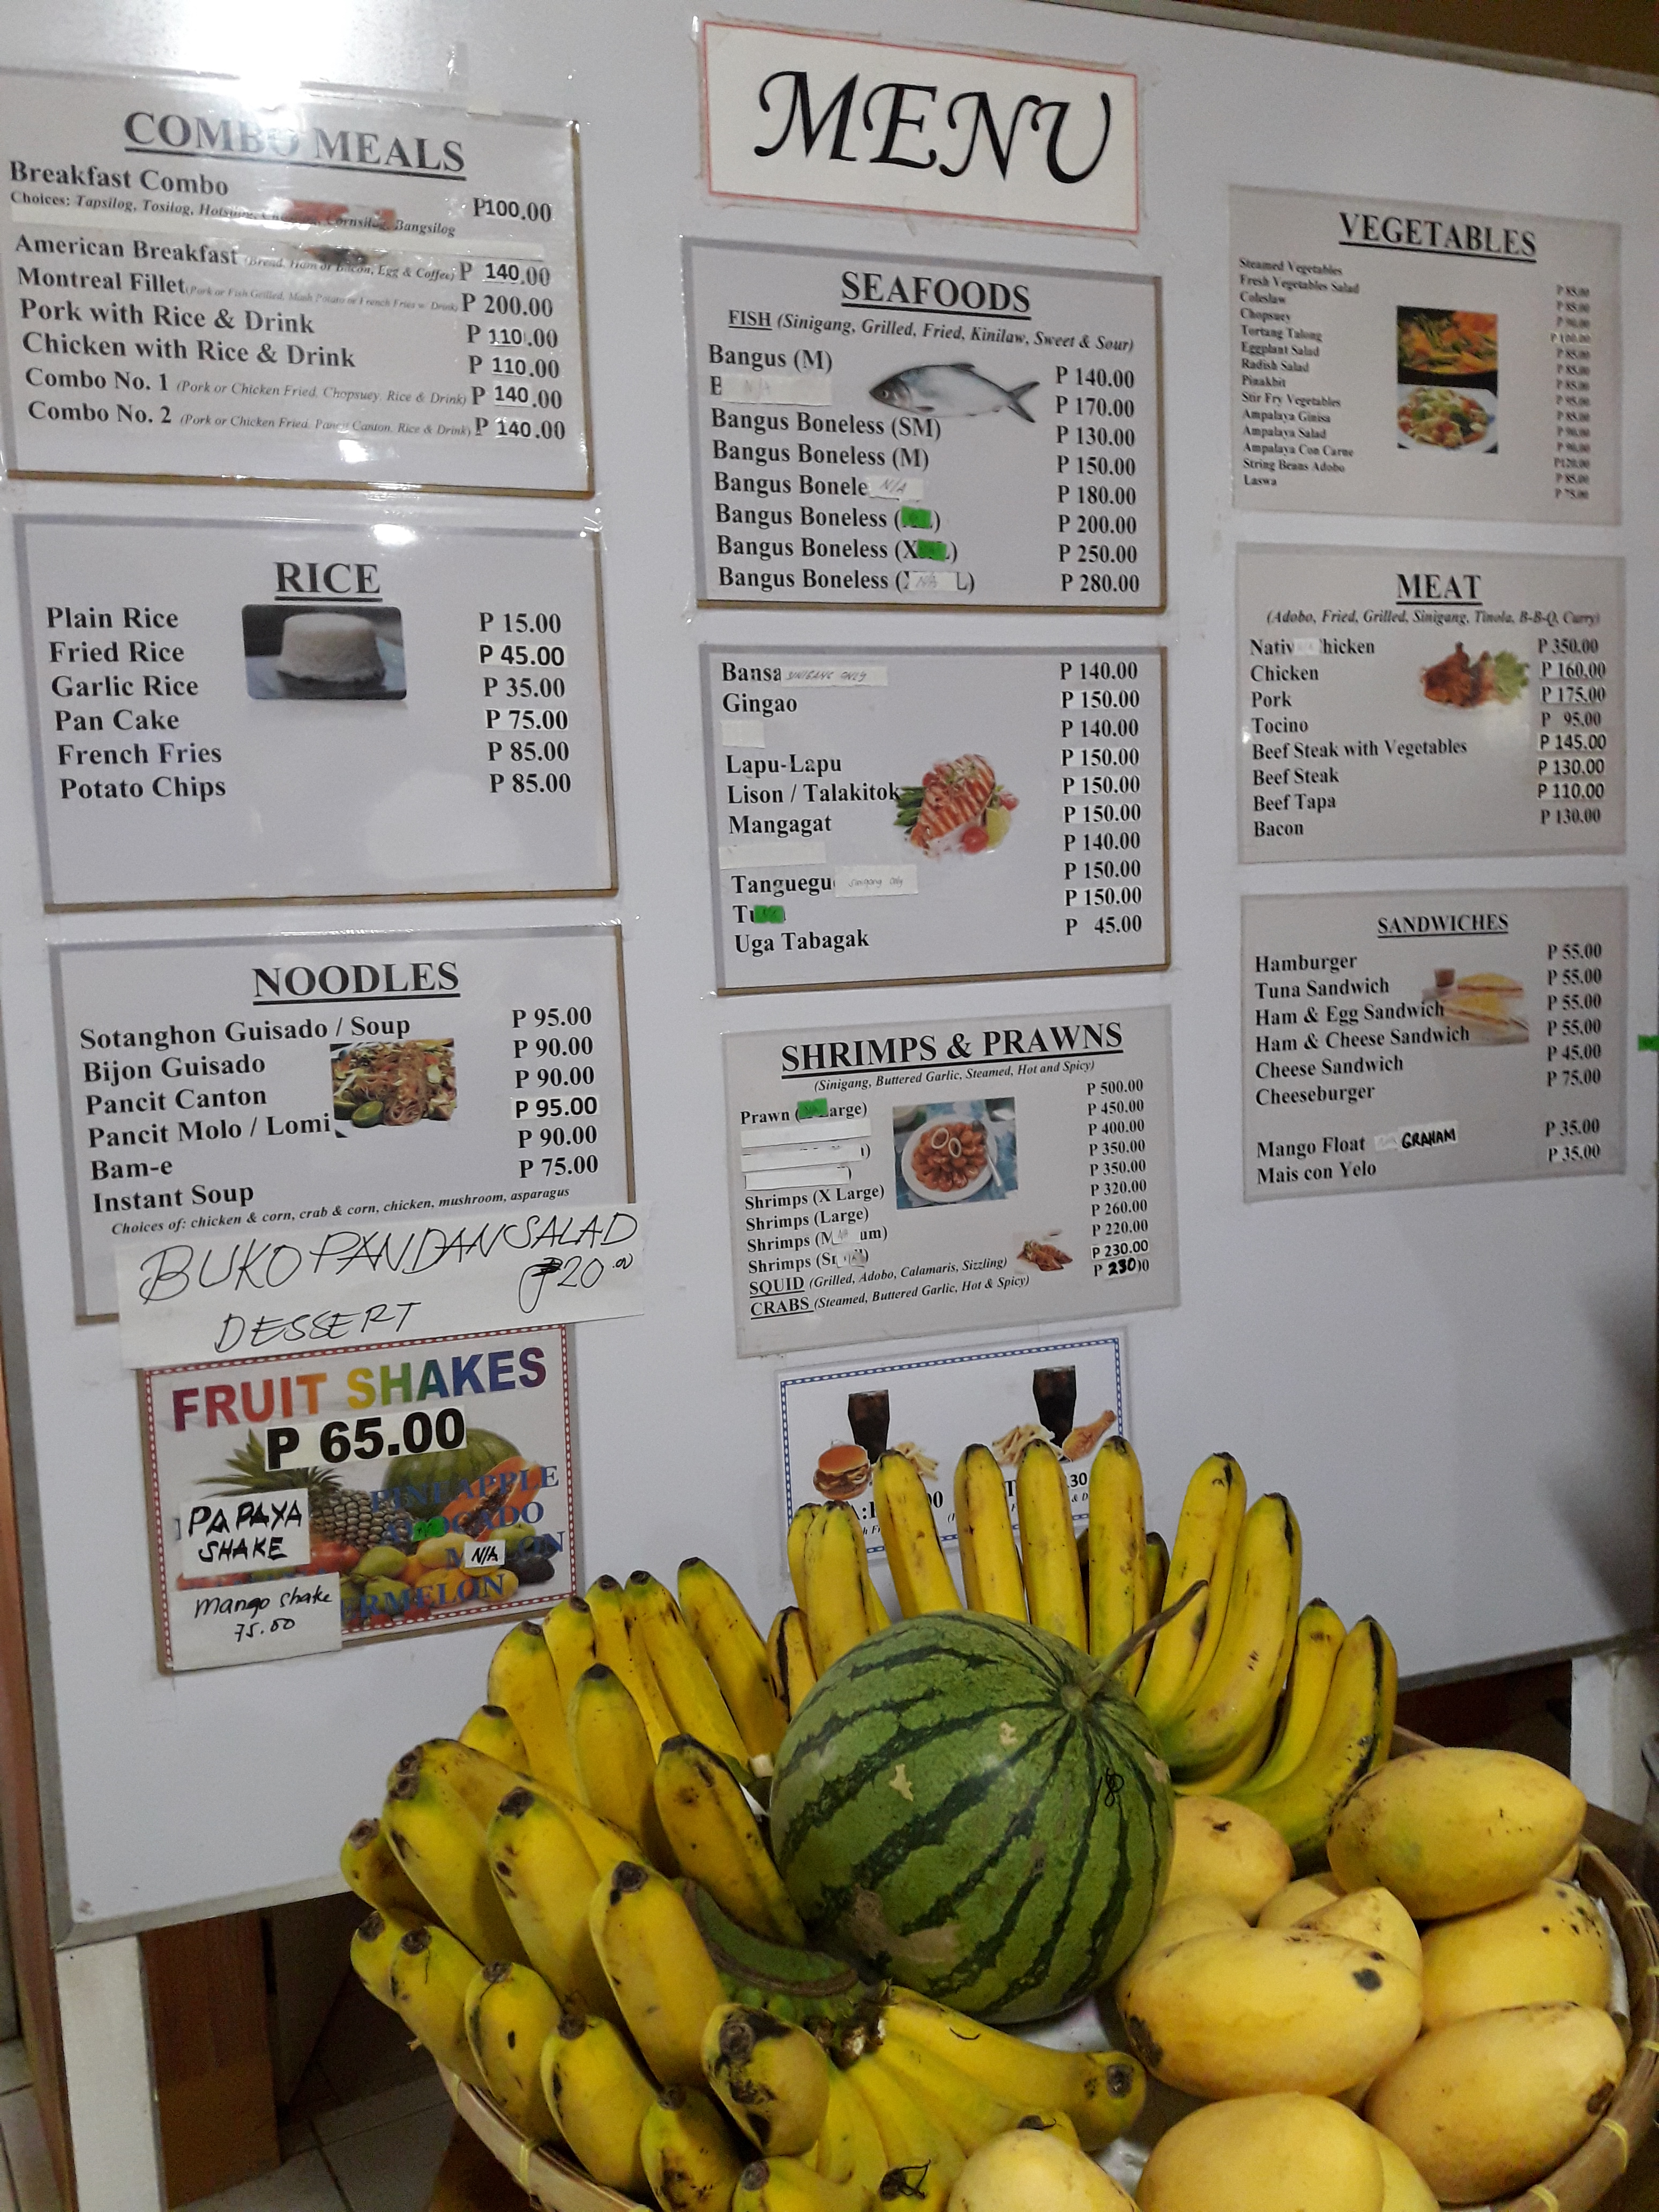
where they’ll help you find a transportation to your destination. Although all the roads are paved, we opted to rent a jeep for the travel for P450 instead of P250 for a small tricycle due to my stature. We went to Raymen’s Resort in Alobijod (or Alubihod) beach, Nueva Valencia. Here you can rent a room (the hotel type has private bathroom) overnight and explore, swim and/or play in the un-crowded beach. They have their own restaurant that serves cheap but good food
Travel Tips Iloilo Guimaras Raymen’s Restaurant.
which is very convenient since the beach is far from from the town. Check also with the front desk if you want to go island-hopping and enjoy nature at its best.
If you just want to just soak in the water without the waves or sand getting in your flip-flops or shoes, you will love this inland resort in Tigbauan. It’s about a 30-minute travel time from Iloilo city. From the same Mohon terminal, take a jeepney ride to Tigbauan then a tricycle ride to the resort. They have several size pools overlooking the beach where you can wade and bask in the sun.
Fill out the forms except the Oath of Allegiance. This will be prepared for you at the Dual Citizenship office before the oath-taking.
Place all the documents (in the order of the checklist) in a long folder and attach them with a paper fastener. If you forget to do this they’ll ask you to buy the supplies from the ladies by the the main door. They also have copying service inside and attorneys outside to handle your last minute affidavit needs. To save time, check your official documents for any discrepancies and correct them before turning them in or you’ll get a letter from them after two months of your petition asking you to submit an affidavit.
2. Before the trip
Plan your trip to the Bureau of Immigration Head Office, Magallanes Dr, Intramuros, Manila, Metro Manila, Philippines. This is the only place they do it when you’re in the Philippines. If staying overnight, I recommend the Bayleaf Hotel (https://www.thebayleaf.com.ph/). It is nice, fairly priced and very close to the BOI. Usually, Mondays are always the busiest so try other days. Before heading there, check to make sure that your scheduled date does not fall on a holiday. They usually have holidays in Manila only and sometimes declared on a short notice.
3. Parking
Once there, parking is along the road on the BOI side. There are parking attendants that will give you tickets which you’ll pay P20 for the1st 3 hours then P15 for every hour thereafter for a car.
Parking ticket at BOI Main Office.
4. Windows, Windows
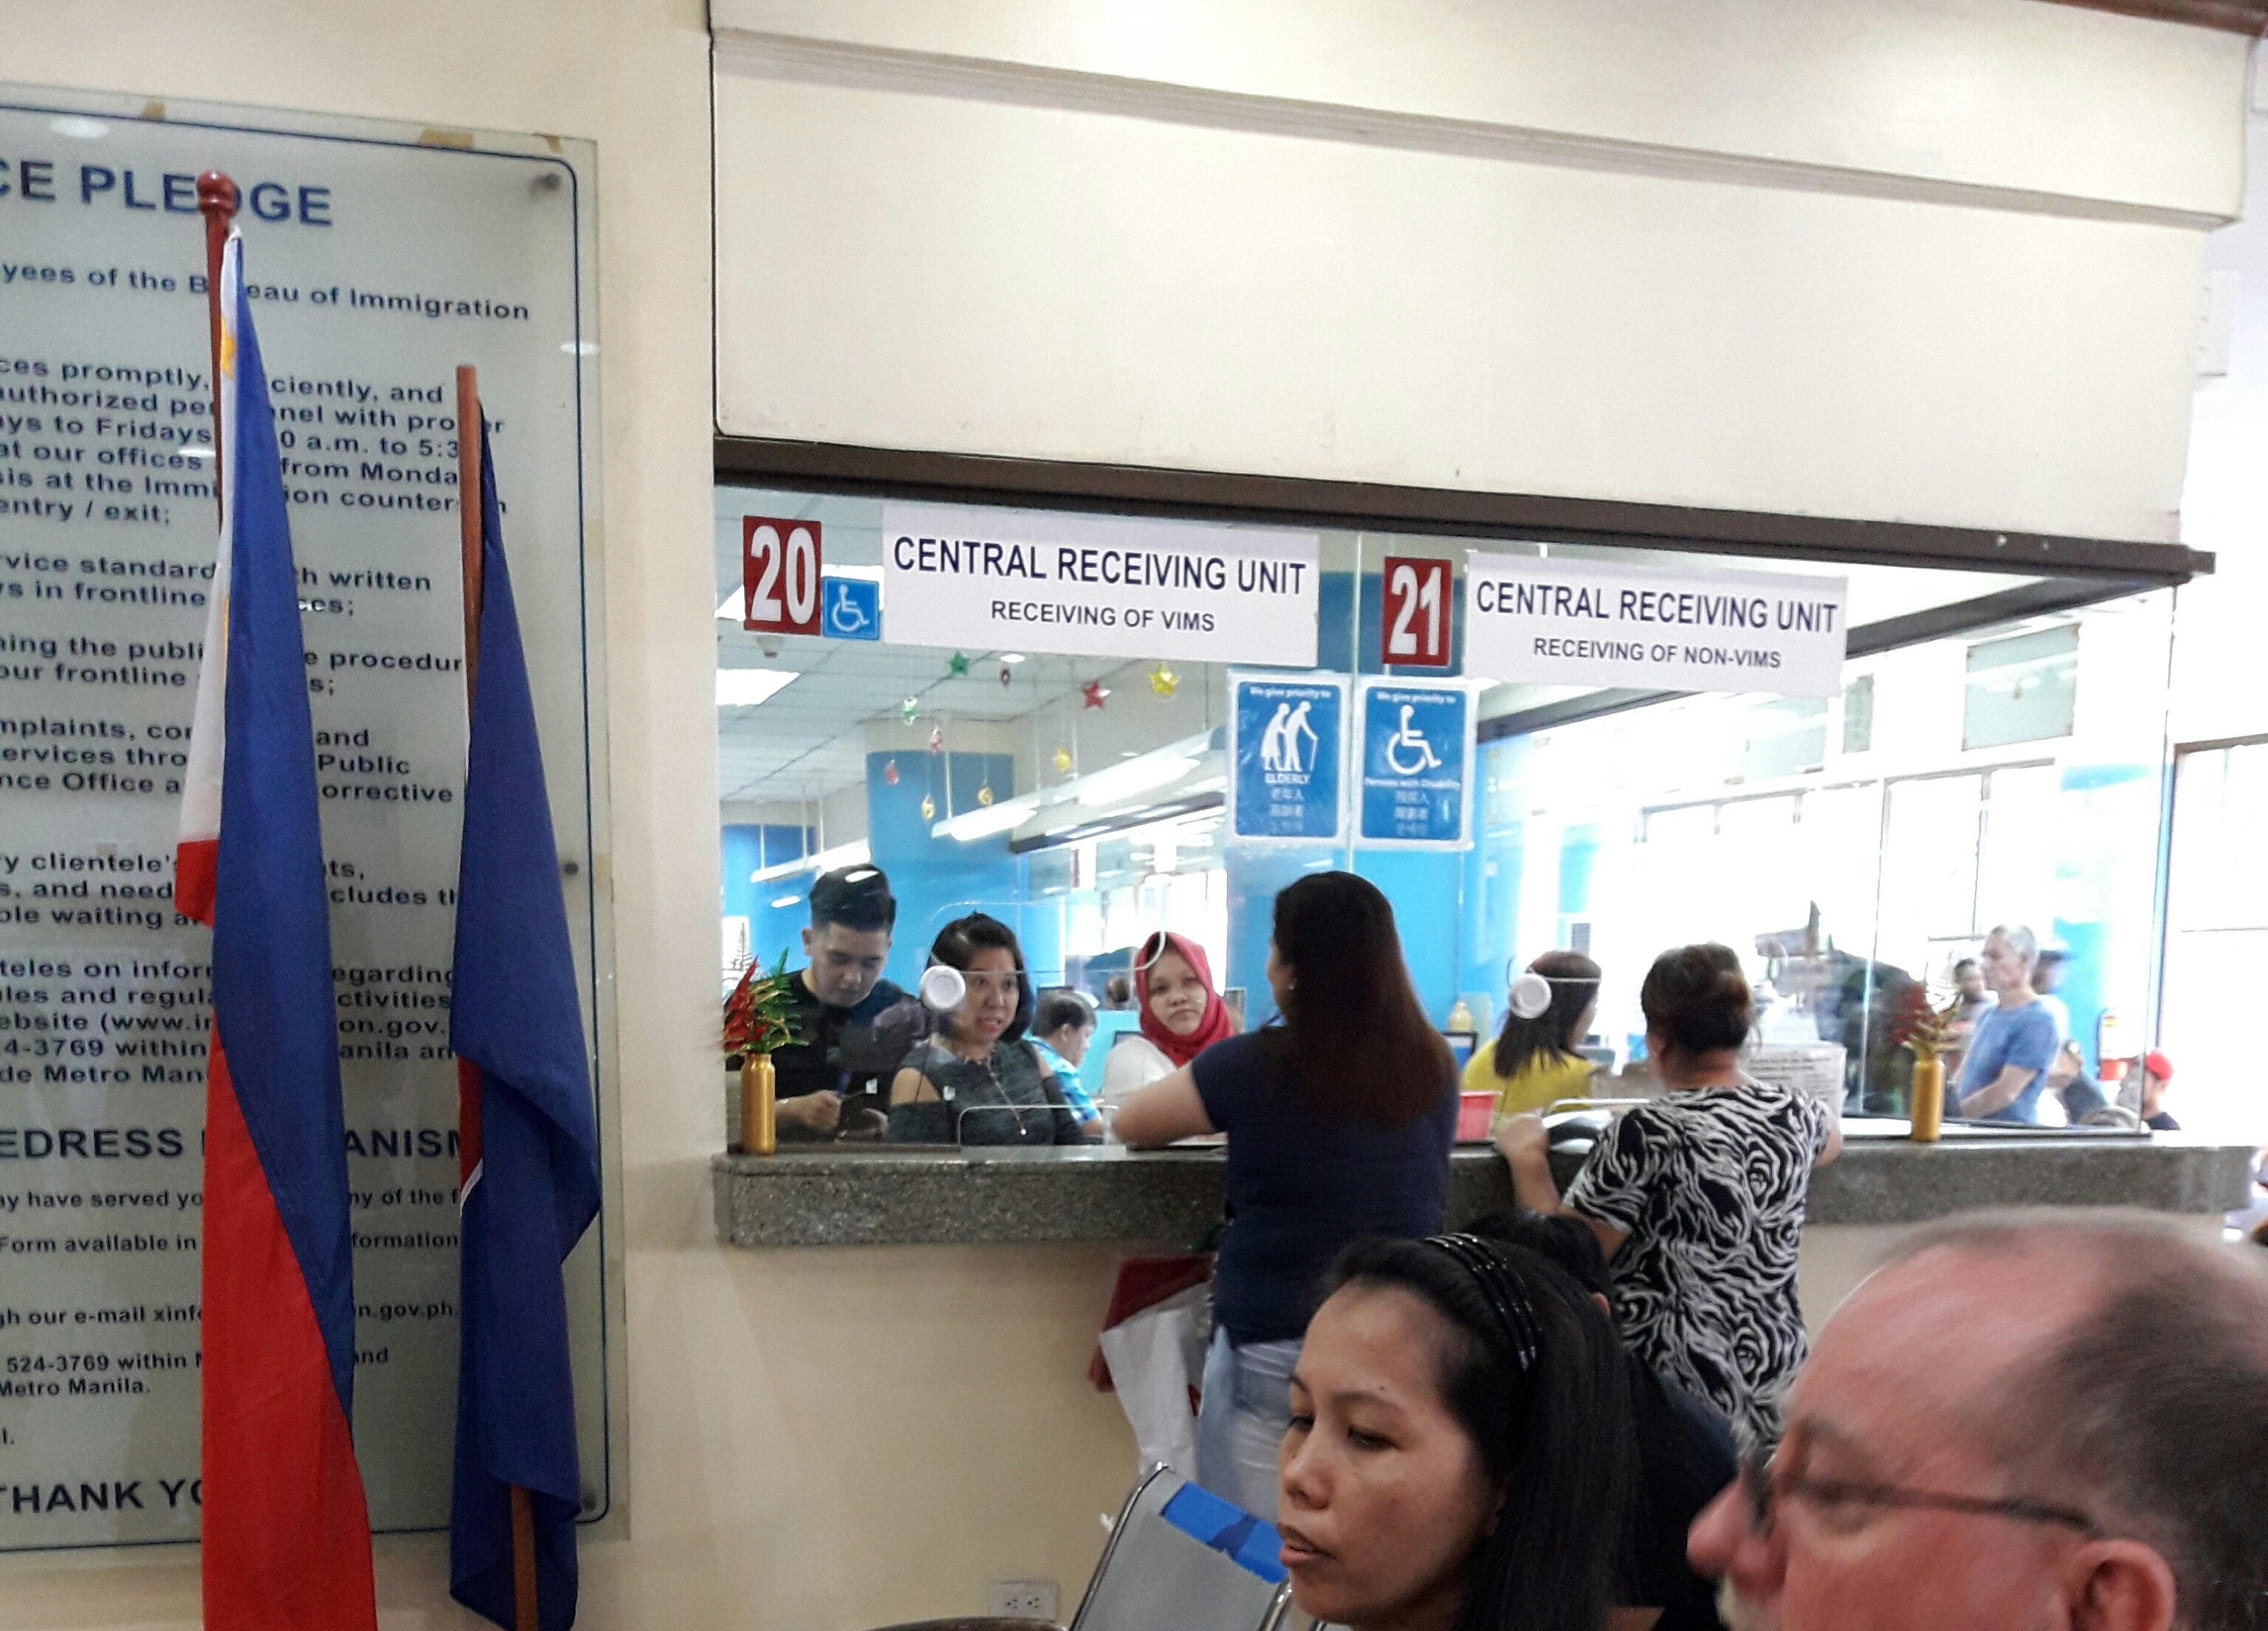
At the entrance, you will be required to leave your identification card with the guard. Head over to the Public Information and Assistance Unit (PIAU) right across the main entrance and turn in your petition. It will be forwarded to the attorneys in a room behind the counter. Wait for your name to be called. The attorney in charge of your petition will review your documents with you to make sure everything is in order.
Assessment windowsPayment window.
After passing the review, take your documents to the Alien Registration Division (window 18) then Central Receiving Unit (window 19) and finally Central Receiving Unit (window 20) for payment of application.
5. Taking the Oath
Go up to the 4th floor to the Dual Citizenship Office (room 401) for the oath-taking preparation. You’ll have to make one last payment of P2,510 at the window of room 404. All the applicants will then be called to make the oath before a legal officer.
The whole process should be finished in a day if you have all the documents needed.
6. The Certificate of Citizenship
The Certificate of Re-acquisition/Retention of Philippine Citizenship will be available for pick up only. The waiting time is 2 to 3 months after the application date. Call (02) 301-0756 or (02) 485-2400 locals 458 or 459 to inquire about the status of your petition.
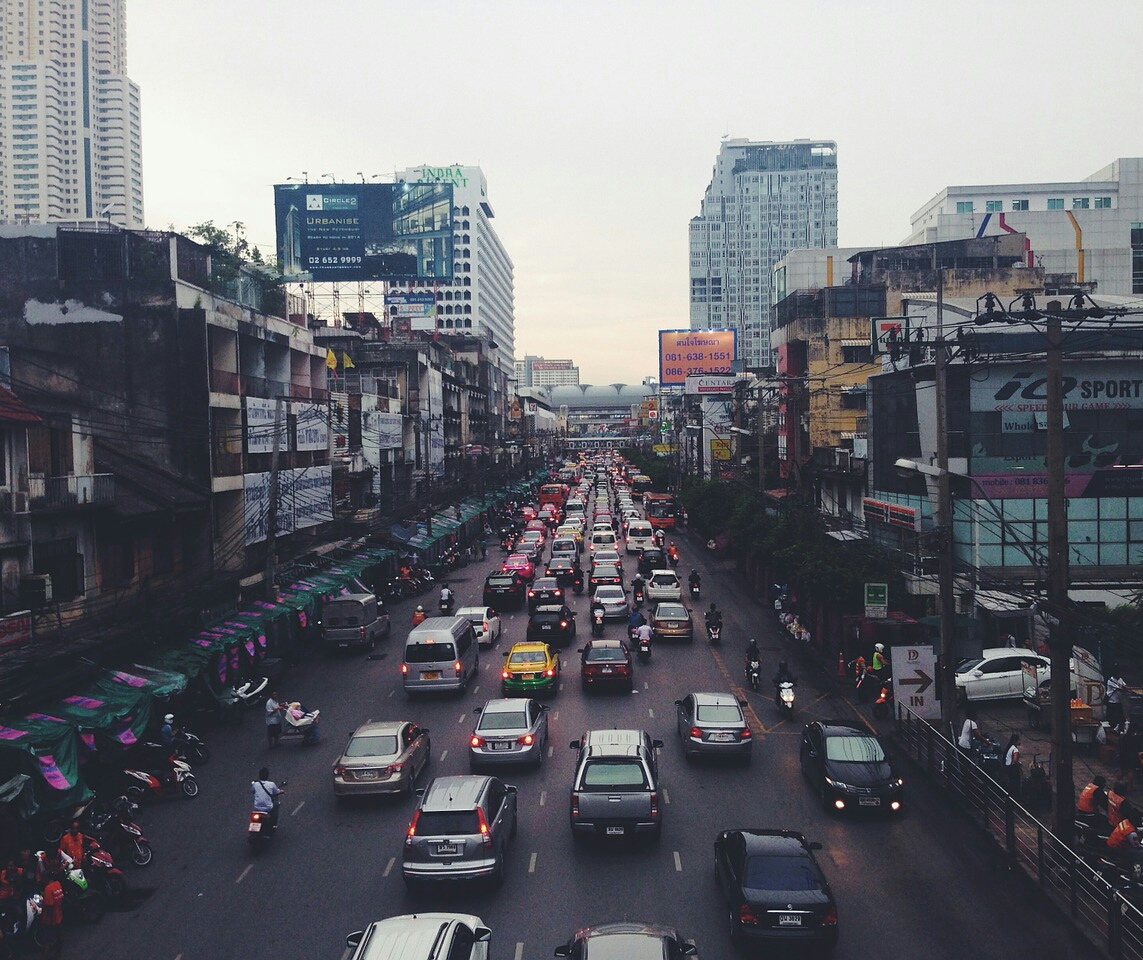
Basically, you have to throw all the nice rules you have learned in driving school out the window if you dare to drive in the Philippines for the first time. There is no right of way, only “my way”. You have to be a defensive driver or plain lucky to make it home unscathed. Drivers here have some kind of an unwritten rules of the road that you just learn as you go. Knowing it would make your driving experience here less intimidating. Here are some of what I have observed:
I. Oncoming vehicle is flashing its headlights.
1) Move out of the way. He needs your lane to pass another vehicle.
2) Give way. He is going to make a left turn.
3) Don’t try to pass. He thinks you’ll not make it.
4) Go ahead and make a left. Either he’s being nice to let you through or frustrated that you’re blocking his way.
II. A vehicle is veering in front of you. Let him pass. It’s your fault if you hit him.
III. Don’t be alarmed when a vehicle is driving against the traffic flow on the side of the road. That’s normal.
IV. It’s okay to make your own lane to avoid traffic. You’ll be fine as long as you can maintain a space of a couple of inches (measured from the tip of your sideview mirror to theirs) between vehicles.
V. The inner lane at the traffic light is for left turn. But others ignore it, so you can make a left turn from where you are if vehicles ahead are not turning.
VI. Generally, it’s your duty to prevent traffic jam by letting a vehicle through when it’s entering from the left. You can use the flashing headlights gesture as in rule I.4 above.
VII. Entering a traffic is a game of psychology. If you wait for the traffic to become clear, you’ll be late for dinner. Instead, poke your way in inch by inch until some driver gives way. This usually works with smaller vehicles, though. Trucks and buses have the priority.
VIII. Use your horn liberally. Two short beeps for thanking someone or when passing another vehicle and one to two long beeps if you’re frustrated.
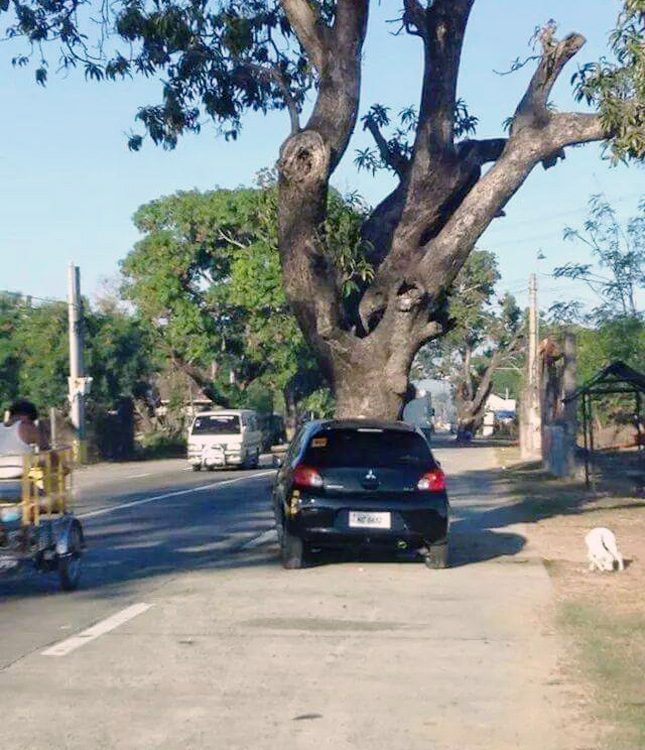
Driving around Urdaneta and surrounding towns is similar except for the excessive number of tricycles, motorcycles and trees on the road. For some reason, trees are not removed when roads are built. This makes travel time estimates on driving apps like Waze rarely reliable. Just like in other places, the common practice is that the inner lane is the slow lane and the outer lane is the passing lane but watch out for the pedestrians, dogs and trees there.
The outer lane is a multi-purpose space used as a sidewalk, rice-drying area, parking area, opposite-direction driving lane, store signs space and other purposes.
Be watchful of bikes, tricycles and jeepneys with no lights when overtaking at night.
Sometimes it’s unavoidable that travellers get the Montezuma’s revenge specially if they are not used to the drinking water in the area. There’s a place here in Urdaneta City called Bayaoas. Its name means guava in the local dialect. According to the folks here, this place used to be a guava orchard, hence the name. The plant is very common not just here but in all parts of the country. Old people have used it as a remedy for the common diarrhea. Medical researchers have proven that guava leaves extract helps control the effects of diarrhea.
My father’s recipe for making a decoction is to boil about ten guava leaves in a cup of water for about 3 to 5 minutes. Pour the liquid in a cup, let it cool and then drink it. One serving should be enough to ward off Montezuma’s revenge.